Diamond Painting Kit Guide: Create Your Shimmering Masterpiece Step by Step
FEELOOK Art Official
Diamond painting is a fun and relaxing DIY craft that lets you create stunning artwork, one sparkling diamond at a time. Whether you love animal diamond painting kits, dream of mystical worlds with fantasy diamond painting, or want to capture the beauty of nature, our diamond painting kits provide everything you need to bring your creativity to life.
Before we dive into the step-by-step instructions, let’s explore what’s included in your diamond art kit and how each tool helps make the process effortless!
✨ What’s Included in Your Diamond Painting Kit?
Each of our diamond painting kits comes with high-quality tools to ensure a smooth and enjoyable creative experience:
✔ 1 × Flocked Fabric Canvas – Soft, non-slip fabric with a clear guide chart for easy placement
✔ 1 × Diamond Pen – Transparent stylus for precise diamond placement
✔ 1 × 4-Placer Tip – Attach to the pen to place 4 diamonds at once for faster progress
✔ 2 × Red Heart-Shaped Wax Pads – Smooth and sticky wax for effortless diamond pickup
✔ 1 × Spout Tray – Organizes and pours diamonds easily
✔ 1 × Pen Grip – A soft sleeve for a comfortable grip
✔ 50 × Resealable Bags – Perfect for sorting and storing extra diamonds
✔ 1 × Number Stickers (1–50) – Pre-numbered for quick and easy labeling
✔ Acrylic Diamonds – Eco-friendly, pre-sorted, and precisely cut for a vibrant, shimmering effect

Now that you know what’s in your kit, let’s start creating your diamond painting masterpiece!
🎨 5 Simple Steps to Complete Your Diamond Painting
🌟 Step 1: Choose a Section & Identify the Symbols
Lay your velvet canvas on a clean, flat surface. Select the section you’d like to start with and locate the corresponding symbols on the guide chart. Each symbol represents a specific diamond color.

💎 Step 2: Match the Shimmering Diamonds
Find the matching acrylic diamonds in the labeled bags according to the color code. These precision-cut diamonds reflect light beautifully, giving your diamond painting its signature sparkle.

✍️ Step 3: Prepare the Applicator with Wax
Gently press the diamond pen into one of the red heart-shaped wax pads to coat the tip with adhesive. This allows the pen to easily pick up diamonds.

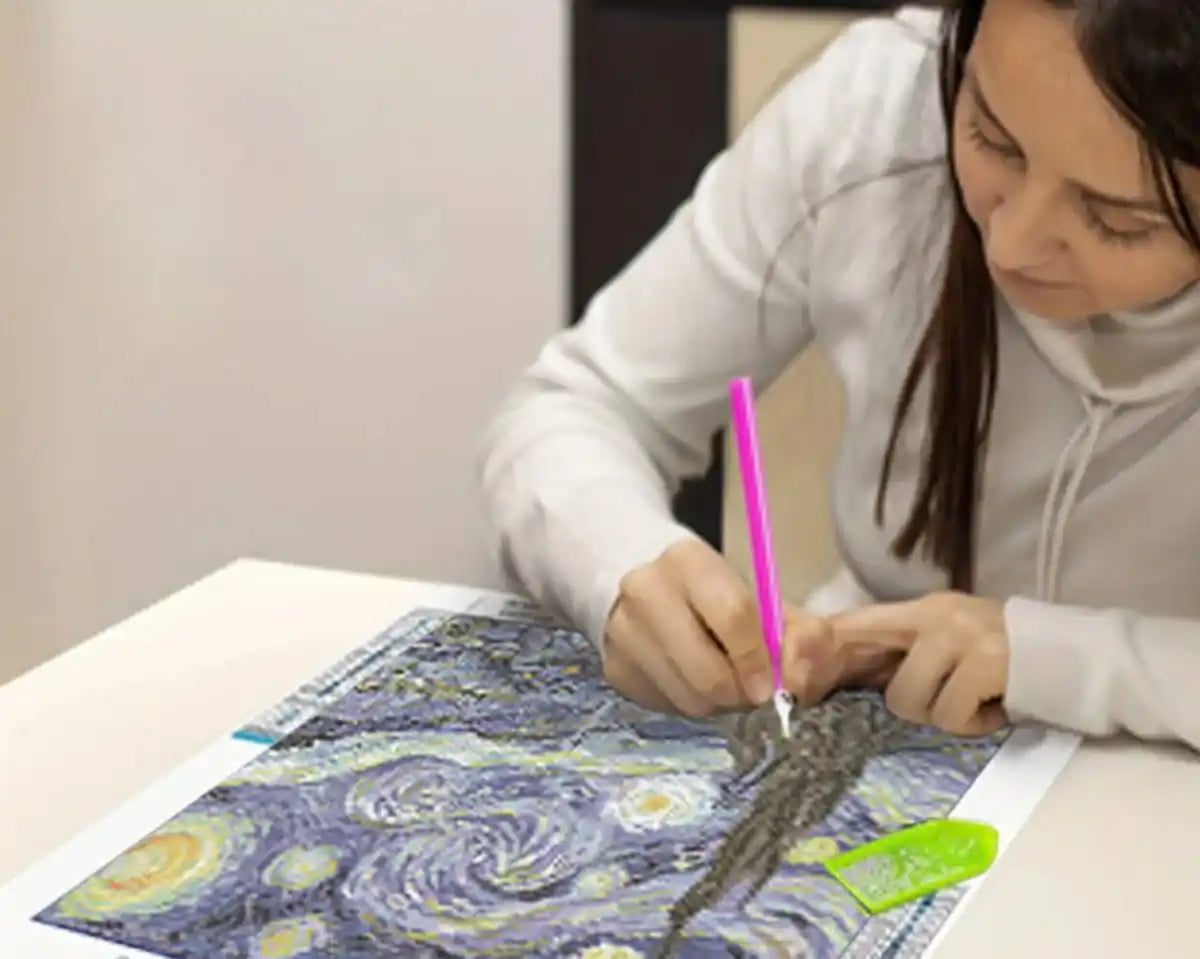
🎯 Step 4: Pick Up & Guide the Diamonds
Use the diamond pen’s tip to pick up a diamond from the faceted side. Guide it carefully and align it correctly. For larger areas, switch to the 4-placer tip to place multiple diamonds at once!

🖼 Step 5: Secure the Diamonds onto the Canvas
Place each diamond on the corresponding symbol and press gently to secure it. Continue working section by section until your diamond art kit masterpiece is complete!

🎁 The Perfect Finishing Touch for Your Artwork
Once you’ve completed your diamond painting, consider framing it to showcase your beautiful work. Whether as a home decoration or a thoughtful gift, your shimmering masterpiece will be a testament to your creativity and patience.

✨ Ready to create your own dazzling artwork? Open your diamond painting kit today and start your journey! Don’t forget to share your finished piece with us on social media and tag FEELOOK Art—we’d love to see your creativity shine!
